POPs
# Geometry Motion Blur with Respect to Relative Camera Movement
When rendering fast moving particles you want to see the beautiful curved motion blur (think sparks). To get this you usually need to have a huge amount of subframe samples. This can easily increase memory footprint by 10x or more, because you have to load all those positions (and other attributes stored on the points) into RAM. There is however a way to create geometry trails that also respect the camera movement. This gives you full control over every aspect, while efficiently rendering. When I was first shown this setup it blew my mind, how simple it is.
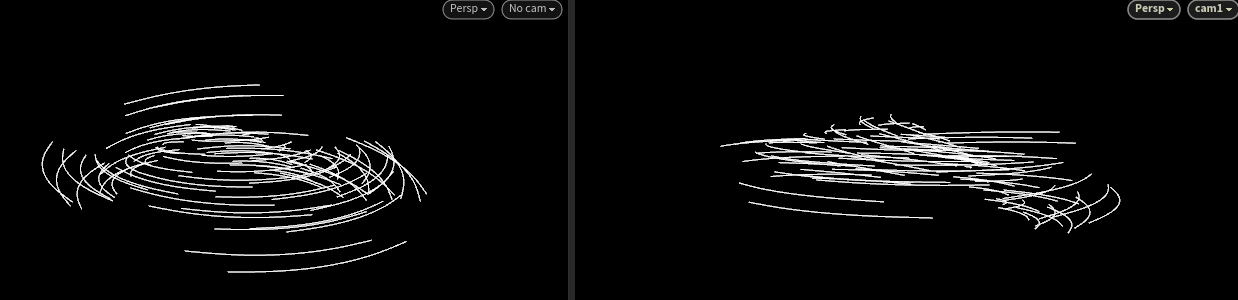
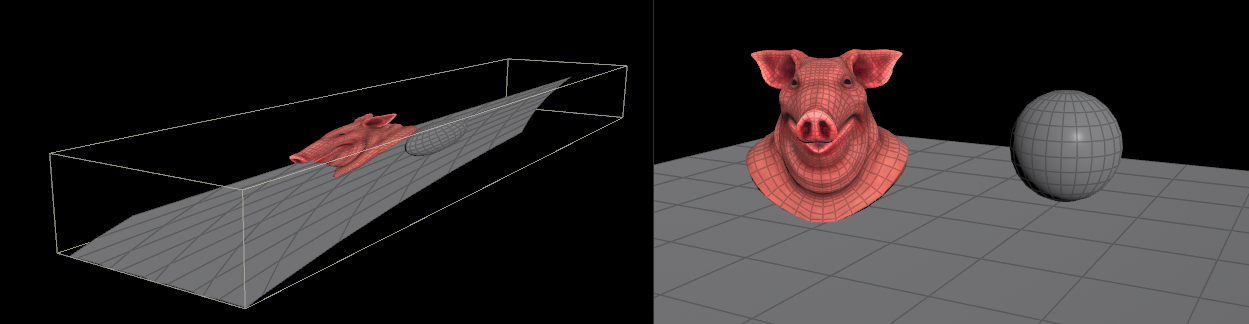
- left: shows the viewport from a free camera
- right: shows the viewport from the perspective of cam1 circling around a couple of points moving up and down
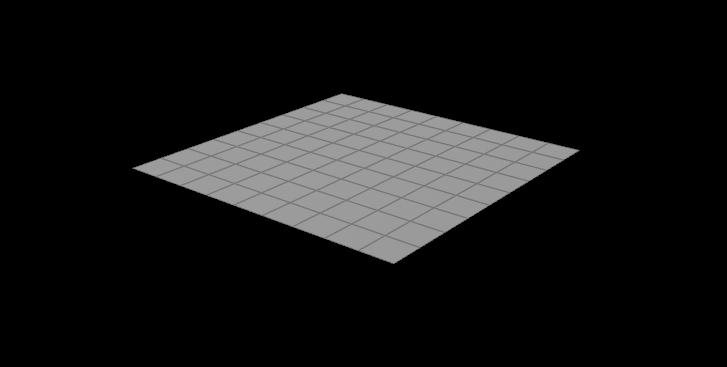
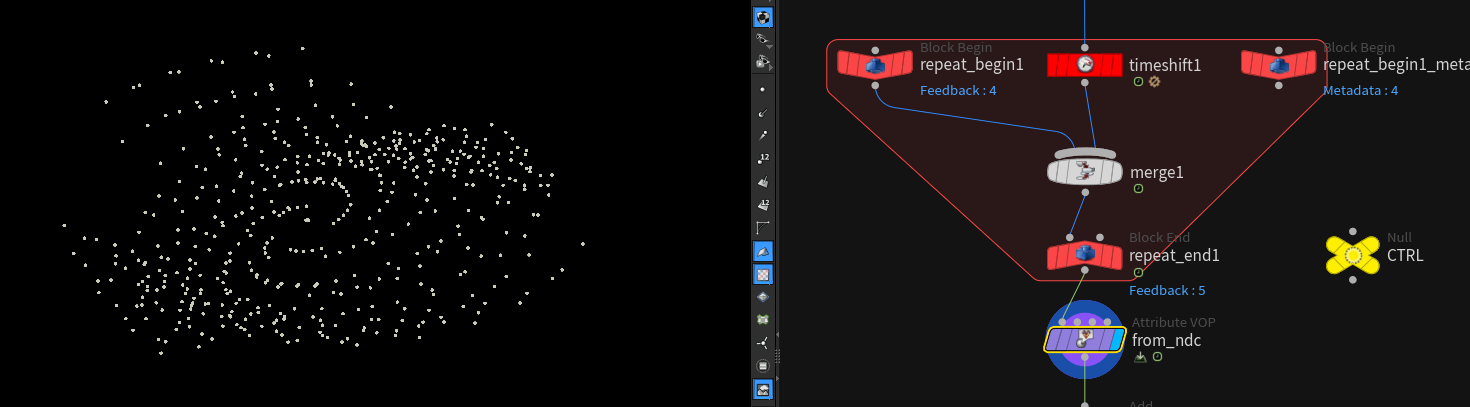
The geometry is just a couple of points scattered on a grid and moved with an animated noise. It doesn’t circulate at all!
All the vertical smearing is a result of the fast moving camera.
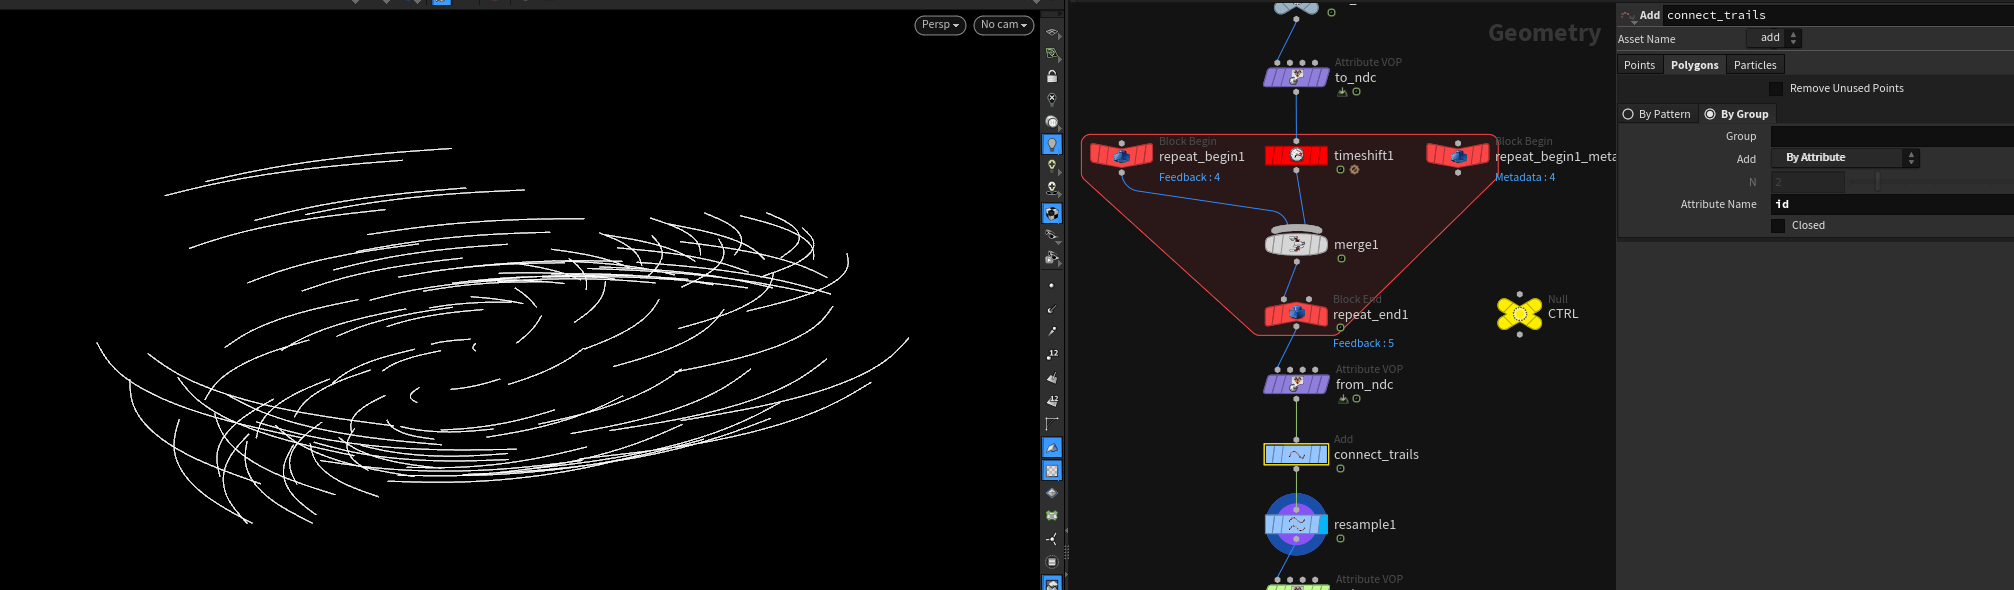
The setup consists of 2 main parts:
- getting the points in “screen space” (also known as NDC) (purple)
- calculating and collecting the geometry at different points in time with a timeshift in a feedback loop (red)
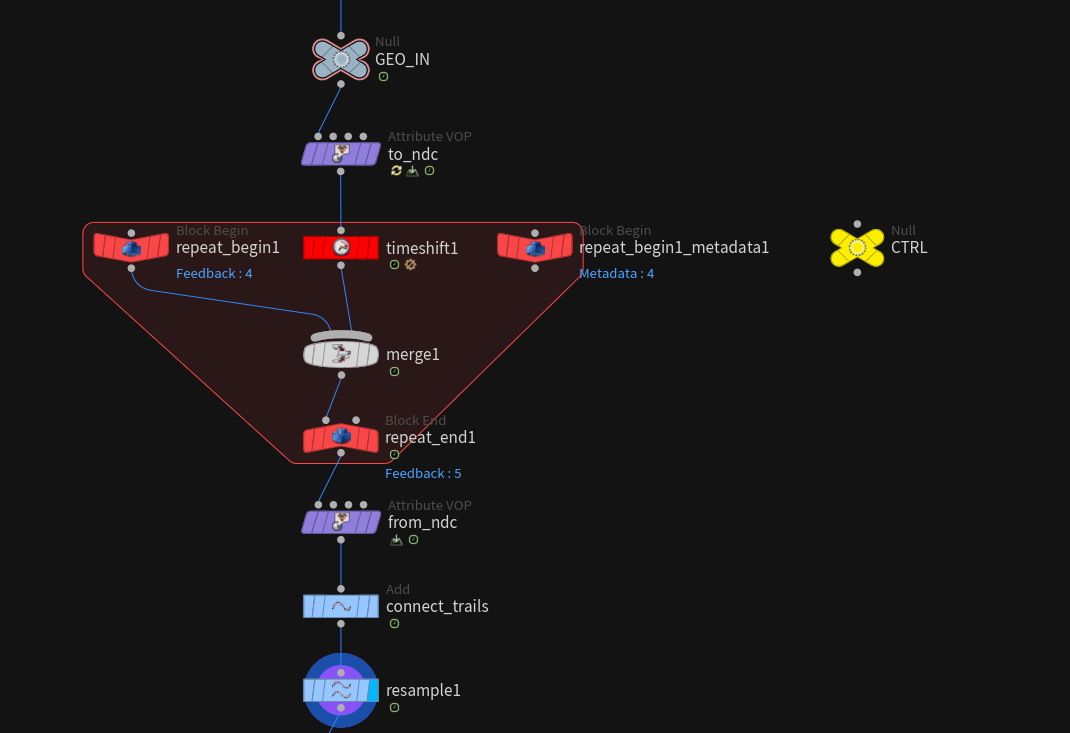
In the end everything gets connected to result in smooth resampled curves.
# NDC?
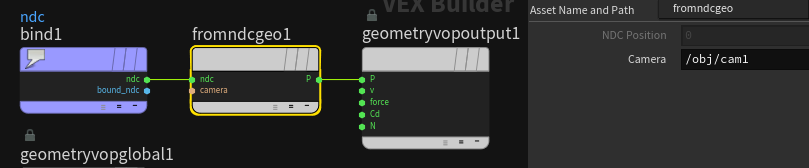
The heavy math lifting is done by the to NDC & from NDC VOP nodes.
NDC stands for “normal device coordinates”. This node maps the point positions from 3d space to a cuboid shape where x and y coordinates represent the x and y axis of the camera image and z the depth.
This allows you to work in a coordinate system that takes into account how points move through the 2D image the camera sees.
In this example we won’t store the ndc space in P but in a separate attribute ndc.

# The Feedback Loop
The Ctrl Null allows you to set the two most important parameters for motion blur.
- sample count
- shutter offset
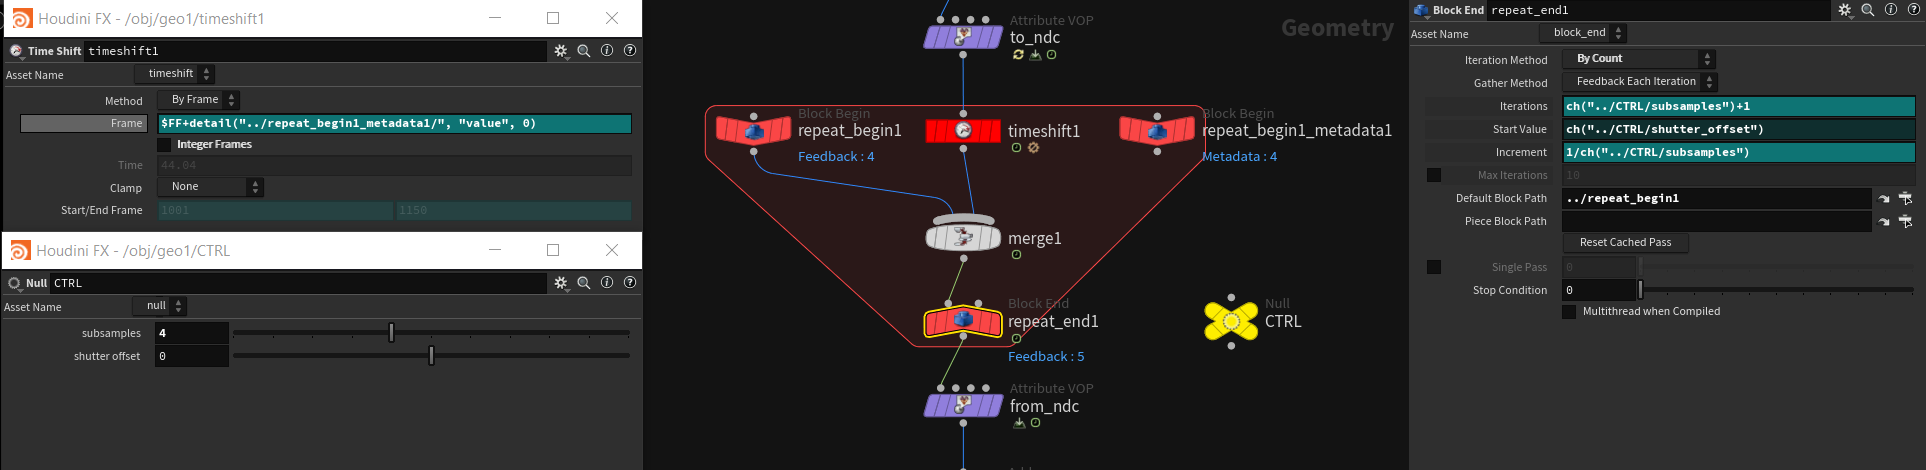
All the loop does is shifting time incrementally 1/sample count steps forward and merging the results. The shutter offset specifies where you start.
- -1 means the sampling will start at the time of the last frame and end on the current one.
- 0 would be half backwards half forwards
- 1 only forwards from the current position to the position 1 frame in the future.
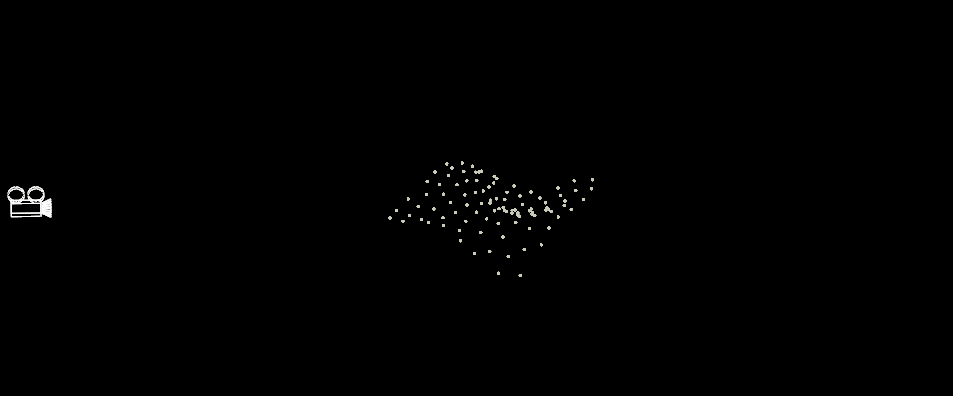
The Result looks something like this:

But wait.. No camera motion blur. This is the same result a trail node would give you. The camera motion blur is not visible yet, because the ndc attribute hasn’t been applied.
This gives you a correctly “screen space” trailed point cloud you can easily connect using an add node if you have ids.
after the add SOP:
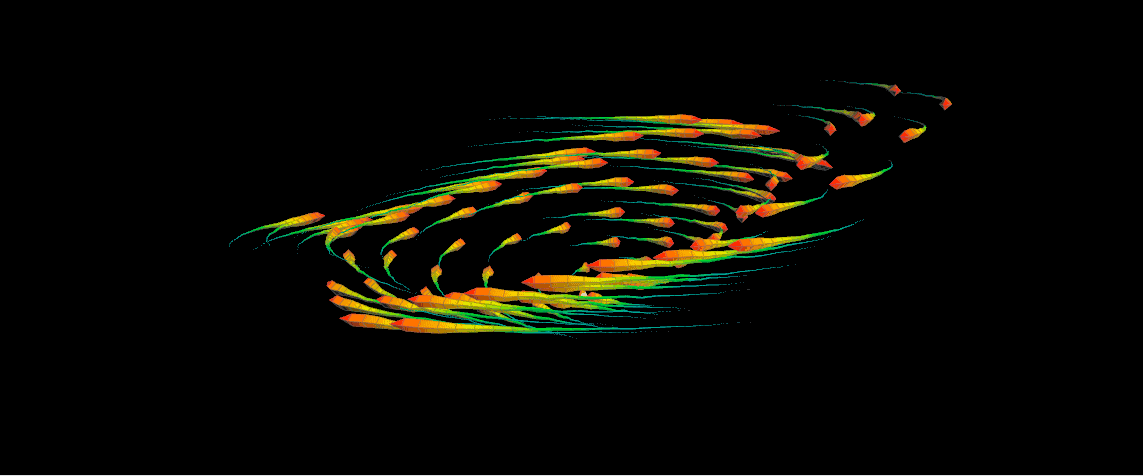
Now you can do all your typical SOPs tricks on it:
- add noise
- resample
- color it along curve u
- width
- alpha blending
- etc.
This even allows for some cool stylized effect setups:
You can download the hip here: File
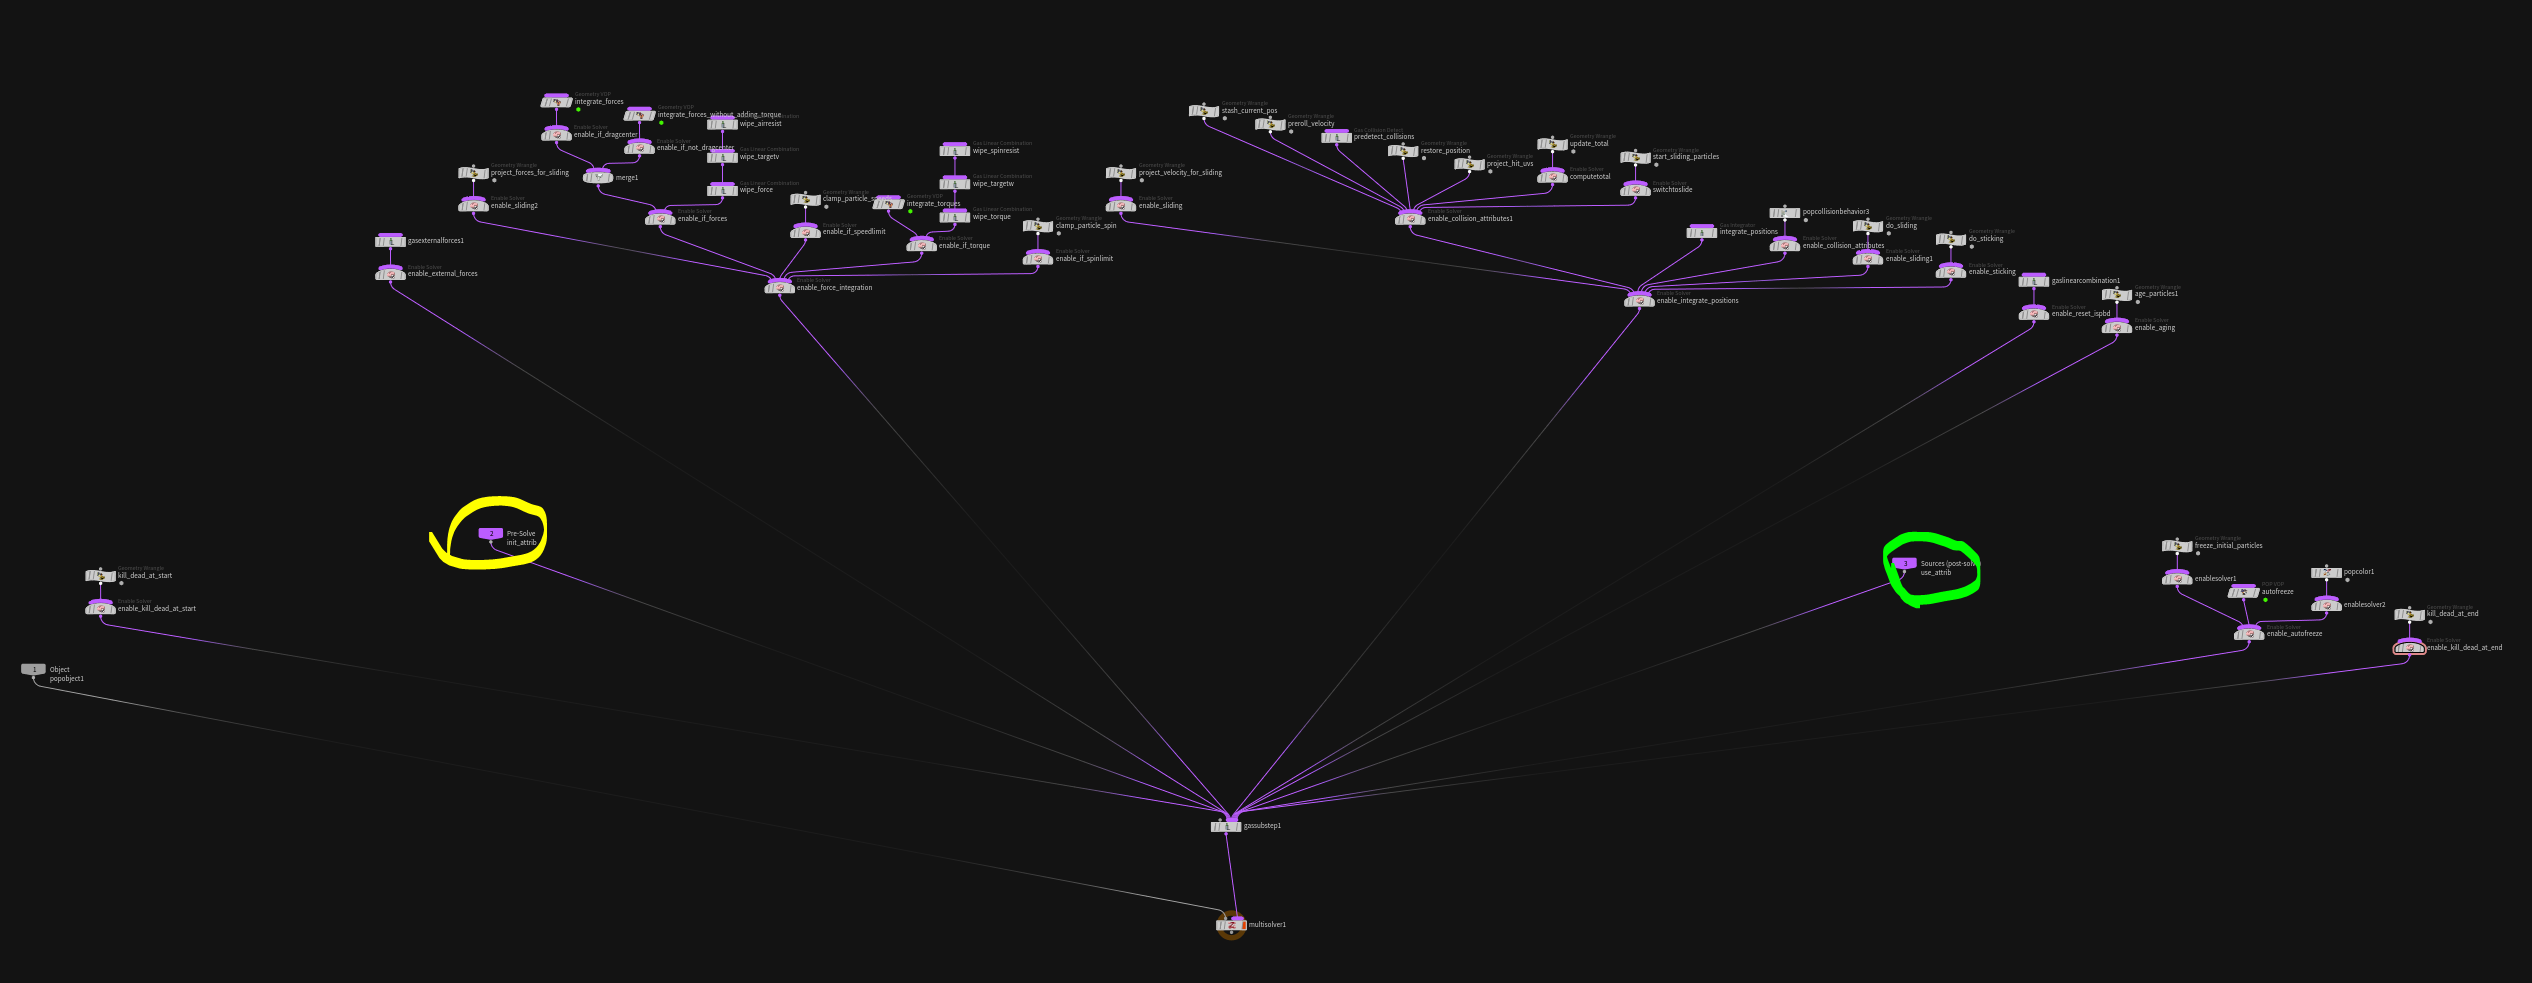
# Initializing Attributes inside DOPs
Sometimes you want to initialize / build some attribute based on the geometry of the frame before. To do so you can plug it in the second input of the pop solver and then use it in the third.
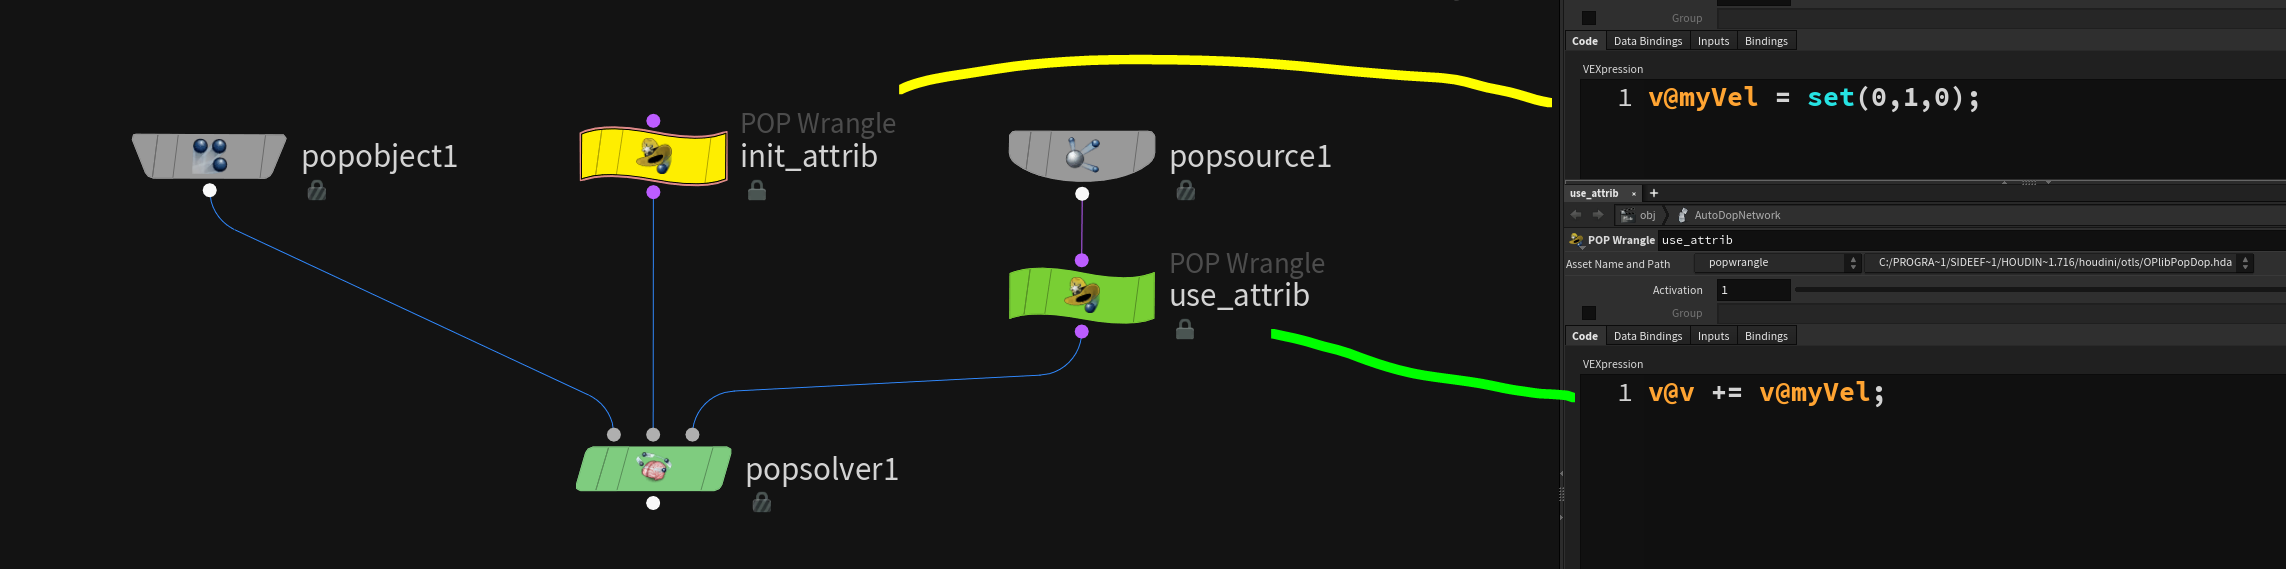
This is very useful because the only thing that happens in the pop solver before processing the second input (yellow) is the reaping of unnecessary particles to avoid overhead. After that the usual pop solver micro solvers are run and in the end all the user instructions for the next frame are applied (green).