Slit Scanning
# History
Slit scanning is a cool photographic technique that captures motion over time by using a narrow slit to take images of a scene. Instead of snapping a traditional photo, it exposes only a thin strip of the image at a time. When moving that slit you expose different parts of the frame at different times. This way, it records movement in a way that creates a unique and often surreal effect.
Paul Bourke shared a great explanation on his blog. (worth checking out!)
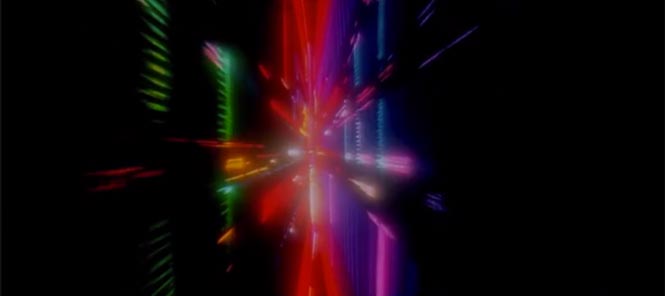
2001: A Space Odyssey has the most well known use of the effect. Here’s a screenshot I found in Golan Levin’s amazing collection of slit scan artworks. The effect was done by Douglas Trumbull.

Source: Levin, Golan. An Informal Catalogue of Slit-Scan Video Artworks, 2005-2015. World Wide Web: http://www.flong.com/texts/lists/slit_scan
The technique has roots in early photography, but it gained a lot of attention in the 20th century, especially with artists and filmmakers who wanted to explore time and space in their work. It’s often associated with experimental films and art installations, where the visuals can twist and stretch in unexpected ways. You can think of it as capturing a moment while also showing how it unfolds over time—kind of like a time-lapse but in a single frame.
It’s fascinating how something so simple can produce such mind-bending results!
# Slit Scanning on Videos using Houdini
Images are cool, but videos are much cooler! Houdini being Houdini it’s easy enough to set something like this up. And you don’t even have to use a slit to do the “scanning”. you can use arbitrary values on each pixel to timeshift to the past and future which let’s you create some trippy videos like this:

Source:
The amazing RBD sim and render is from Gurmukh Sandhu, who was so kind to let me use it for this experiment
Inspiration:
Stephan Helbing presented a similar setup for XK Studio in this amazing hive talk. My setup is loosely inspired by it. The main addition is the “straight to COPs” part, which makes it much faster to iterate
You can see the impact and destruction in some parts of the image before the ball hit the violin. 3D video? somewhat!
The main problem you run into when doing this is that you need A LOT of frames for this to look good. In my example you can still see a lot of stepping, because I didn’t have enough frames to fill up the full range of timeshifts. That way multiple different timeshift values will be quantized to read from the same input image. Ideally you would have the amount of pixels on the longer side of your image + the amount of frames you want to end up with as your input frame range:
For a 1920x1080 input sequence that would be 1945 frames for a 1 second video at 25fps. This would allow you to timeshift around through the whole range without having to worry about using the same image on two rows twice and causing stepping.
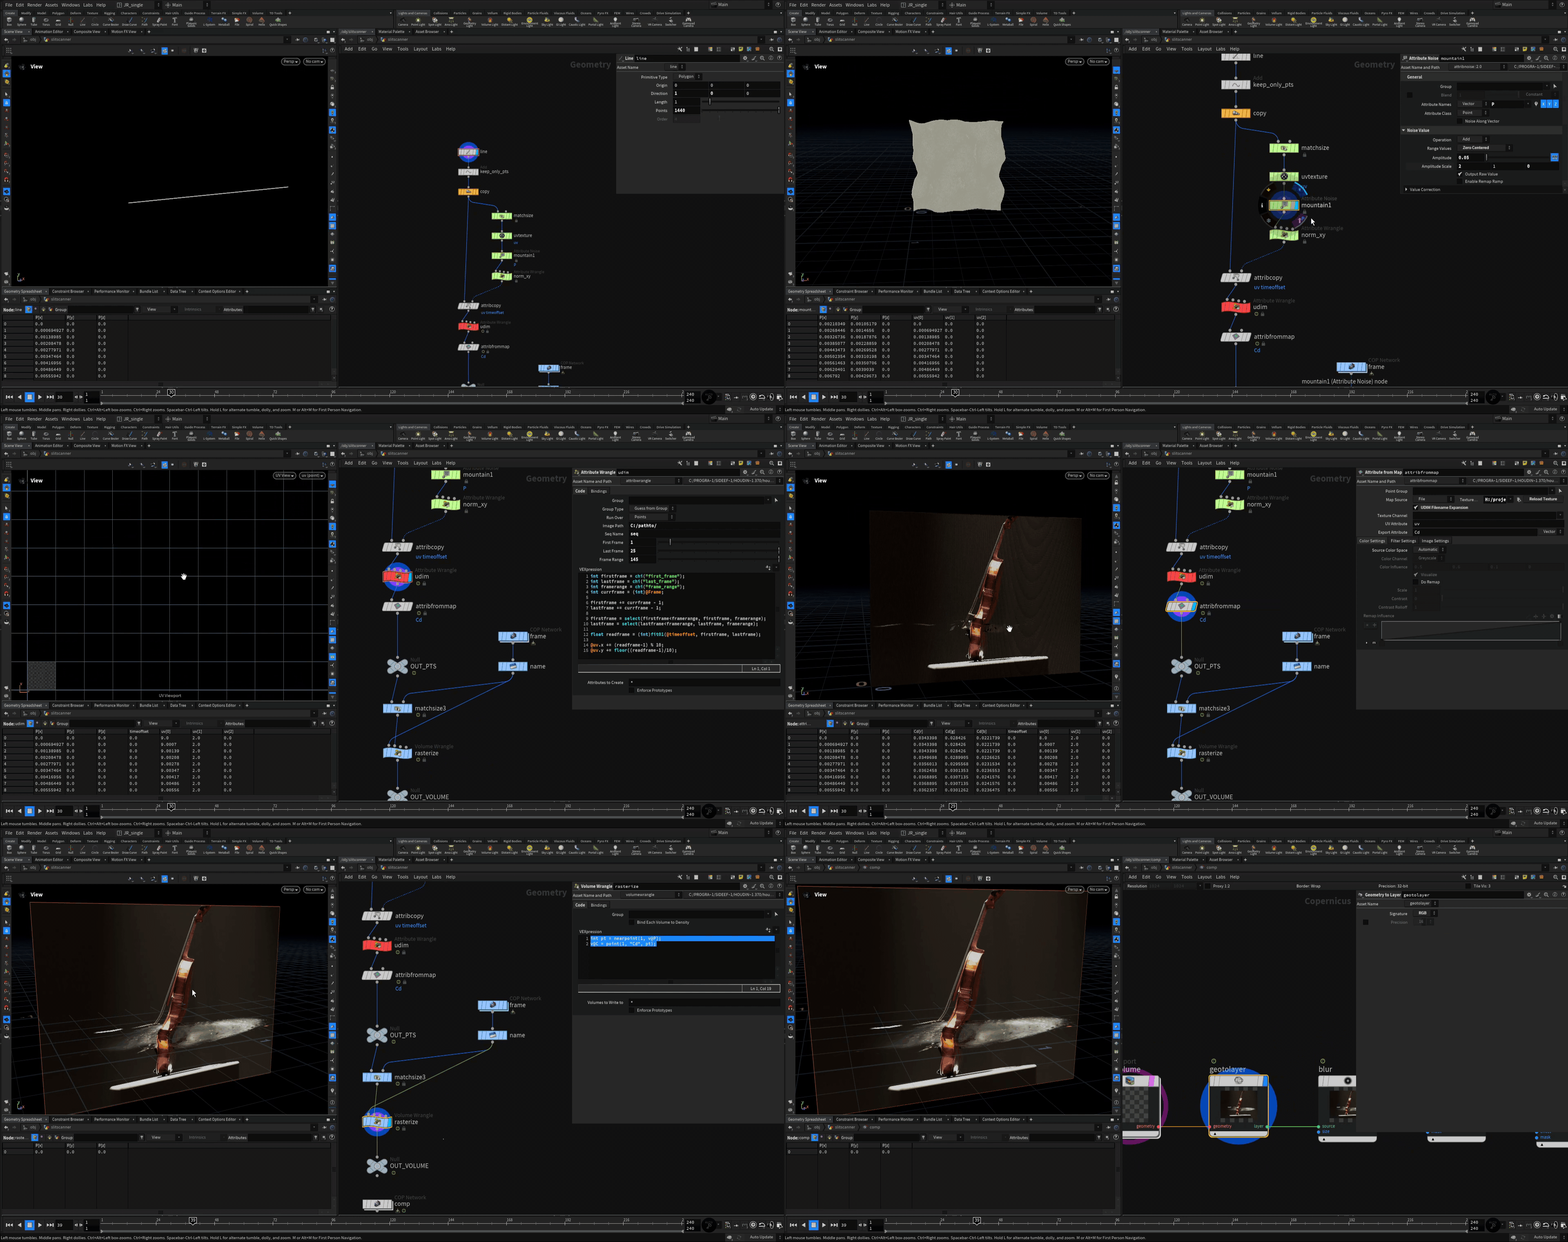
The setup is pretty straight forward:
- create a bunch of points that will hold your color values (should match your resolution)
- give those points uvs
- create a timeoffset attribute on each point (could be a slit or noise or anything in between)
- use the timeoffset attribute to move the uvs of the points to different udims to read from different frames at the same time (your image sequence has to start on frame 1001 for this to work)
- color the points using
attrib from map - rasterize it all into a 2d volume and bring it into COPs for post processing or export
I was surprised how relatively fast Houdini samples the colours from all of these frames at the same time.

// point wrangle “norm_xy”
| |
// point wrangle “udim”
| |
// point wrangle “raterize”
| |
A couple things to keep in mind for this to run:
- image sequences should start on frame
1001and use the<UDIM>tag instead of$F4in the file path when reading the file from disk firstframe,lastframe&framerangeare specified without the 1000 frame offsetfirstframespecifies the minimum timeshift (e.g. 1 makes sure there is no timeshift where the timeoffset attribute is 0)lastframespecifies the maximum timeshift (e.g. 25 gives you a 1 second timeshift into the future where the timeoffset attribute is 1)framerangesets the last frame in your sequence (e.g 250 if your range is 1001-1250). This makes sure to clamp at the end before running into black
Download: File
sources / further reading:
- Slit-scan Photography - Wikipedia
- An Informal Catalogue of Slit-Scan Video Artworks and Research - Golan Levin
- Slit-scan and the Legacy of Douglas Trumbull - Neil Oseman
- Slit scan object photography how to - Discover Digital Photography
- Slit Scan Images - Paul Bourke
- XK studio: Morphing Reality | XK studio | OFFF HIVE 2024 - Stephan Helbing